# 3장. Jest + TypeScript 테스트 환경 설정
# 1. Jest config 설정
/src/test 하위에 jest.config.js 파일을 생성한다.
module.exports = {
    testMatch: [
        "**/__tests__/**/*.+(ts|tsx|js)",
        "**/?(*.)+(spec|test).+(ts|tsx|js)",
    ],
    transform: {
        "^.+\\.(ts|tsx)$": "ts-jest",
    },
};
# 2. Test 코드 추가
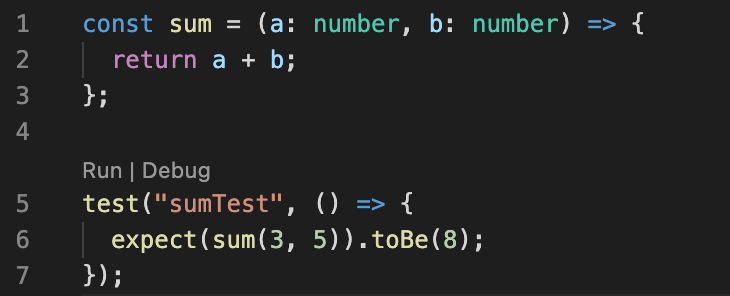
Jest가 정상 동작하는지 확인하기위한 테스트코드를 작성해본다. /src/test/basicTest.test.ts
const sum = (a: number, b: number) => {
    return a + b;
};

test("sumTest", () => {
    expect(sum(3, 5)).toBe(8);
});

//ADD Your TestCode
//
# 3. isolatedModule 오류 해결 및 exclude
--isolatedModules 문제가 발생한다.
tsconfig.json에 isolatedModules 옵션을 false로 바꿔준다.
그리고 test코드를 exclude 해준다.
{
    "compilerOptions": {
        "target": "es5",
        "lib": ["dom", "dom.iterable", "esnext"],
        "allowJs": true,
        "skipLibCheck": true,
        "esModuleInterop": true,
        "allowSyntheticDefaultImports": true,
        "strict": true,
        "forceConsistentCasingInFileNames": true,
        "noFallthroughCasesInSwitch": true,
        "module": "esnext",
        "moduleResolution": "node",
        "resolveJsonModule": true,
        "isolatedModules": false,
        "noEmit": true,
        "jsx": "react-jsx"
    },
    "include": ["src"],
    "exclude": ["src/test"]
}
# 4. Jest (opens new window) , Jest Runner (opens new window) 플러그인 설치
플러그인 설치시 함수 바로위에 RUN | DEBUG 버튼이 생기고, 눌러서 바로 실행시킬 수 있다.
Jest가 정상적으로 동작하는지 확인한다.

Github Link : react-typescript-project-starter (opens new window)